Cardiopulmonary resuscitation (CPR) is a life-saving technique that is essential in emergencies such as heart attacks or near-drowning incidents, where someone’s breathing or heartbeat has stopped. Understanding and administering CPR correctly can be the difference between life and death, making it an indispensable skill for everyone.
After successfully completing the program, you’ll receive your official CPR license as proof of certification.
What is CPR?
CPR is a combination of chest compressions and rescue breaths that helps circulate blood and oxygen in the body when the heart and lungs are not working effectively. By maintaining blood flow to vital organs, CPR can delay tissue death and extend the window of time for effective medical treatment.
Our CPR classes for teens teach young learners essential safety skills and how to respond during emergencies.
The Importance of Learning CPR
Learning CPR empowers individuals to act swiftly during emergencies. Immediate CPR can double or even triple a cardiac arrest victim’s chance of survival. Despite its critical importance, many people hesitate to perform CPR for fear of doing it incorrectly. However, even imperfect CPR is better than no CPR at all.
Looking for BLS certification near me? We provide accredited training options for healthcare providers and first responders.
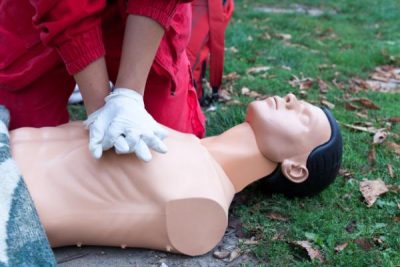
Steps to Perform CPR
Knowing the correct steps to perform CPR is crucial. Here’s a detailed guide:
1. Assess the Situation
First, ensure the scene is safe for both you and the victim. Check the victim for responsiveness by gently shaking them and asking, “Are you okay?” If there is no response, call for emergency medical assistance immediately.
2. Open the Airway
Gently tilt the victim’s head back by placing your hand on their forehead and two fingers under their chin. This action helps open the airway by lifting the tongue from the back of the throat.
3. Check for Breathing
Look, listen, and feel for breathing for no more than 10 seconds. If the person is not breathing or only gasping, it is time to start CPR.
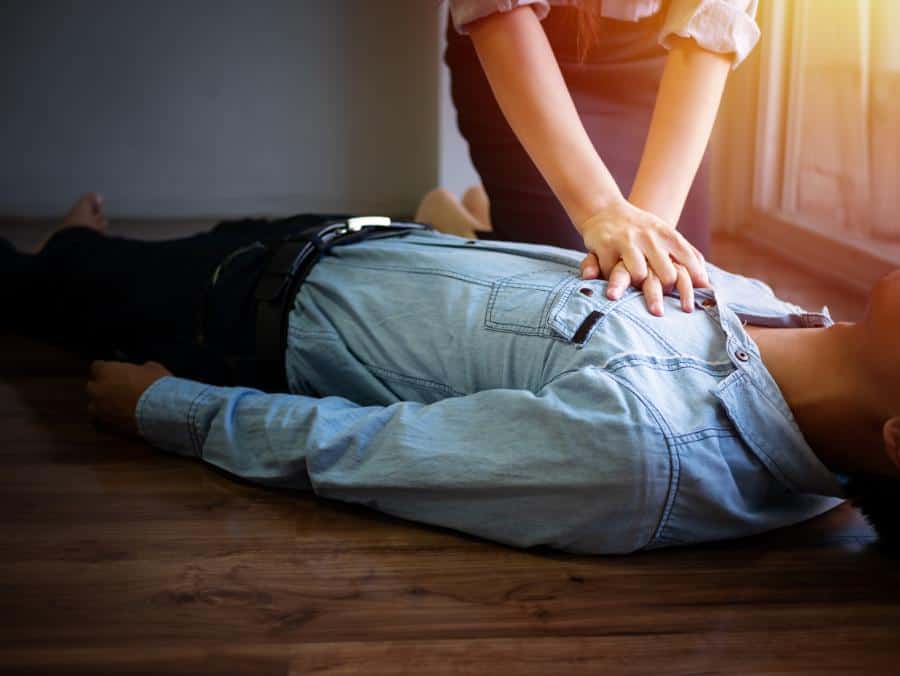
4. Perform Chest Compressions
Kneel beside the victim and place the heel of one hand on the center of their chest, between the nipples. Place your other hand on top and interlock your fingers. Keep your elbows straight and use your body weight to compress the chest at least 2 inches deep at a rate of 100 to 120 compressions per minute.
5. Deliver Rescue Breaths
After 0 compressions, give two rescue breaths. Pinch the victim’s nose shut, seal your lips over their mouth, and blow into their mouth until you see the chest rise. Each breath should take about one second. If the chest does not rise, re-tilt the head and try again.
6. Continue CPR
Continue the cycle of 30 chest compressions and two rescue breaths until emergency help arrives, an automated external defibrillator (AED) is available, or the victim shows signs of life.
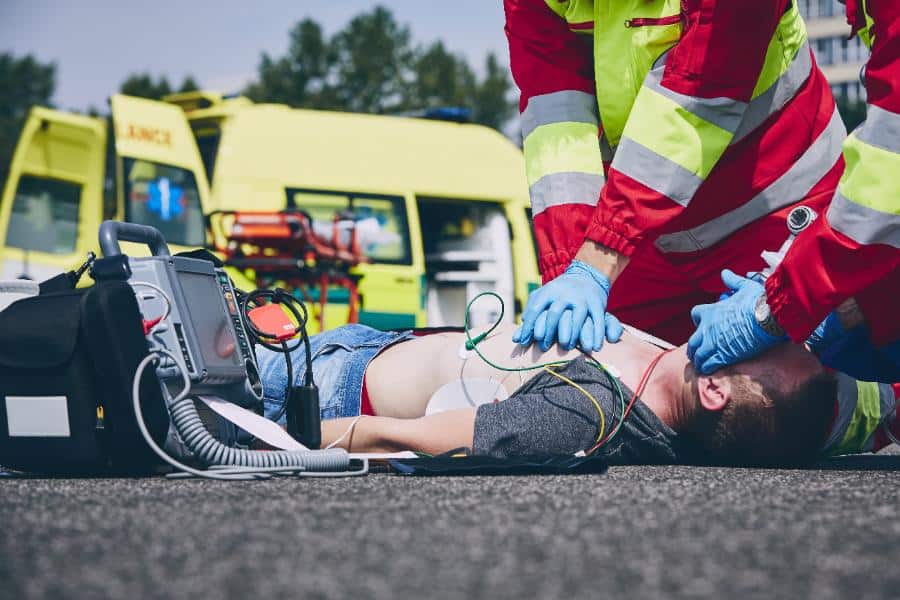
Using an Automated External Defibrillator (AED)
An AED can significantly increase the chances of survival for a cardiac arrest victim. These devices are designed to be user-friendly and provide step-by-step instructions. Once you turn on the AED, it will assess the victim’s heart rhythm and advise if a shock is necessary. Follow the device’s prompts carefully.
When to Stop CPR
Stop CPR when the victim starts to breathe normally, when another trained responder or emergency personnel take over, or if you are too exhausted to continue. It’s important to note that performing CPR can be physically demanding, and it’s okay to ask for assistance if others are available.
Conclusion
Understanding the basics of CPR is an invaluable skill that can save lives. By learning and practicing the correct techniques, you can be prepared to act confidently during an emergency. Remember, your willingness to help can make a significant difference, providing critical support until professional medical assistance arrives.